
Hello, I’m here with a new camouflage nail art tutorial, however before that a quick announcement for my new independent url! As soon as I changed my name last time I knew that I want to make things “official” soon and quit using blogger. Rumor has it that Google reader will disappear anyway so there wasn’t much holding me down. If you were following me via GFC please, please follow me via Bloglovin, Facebook or Twitter from now on.
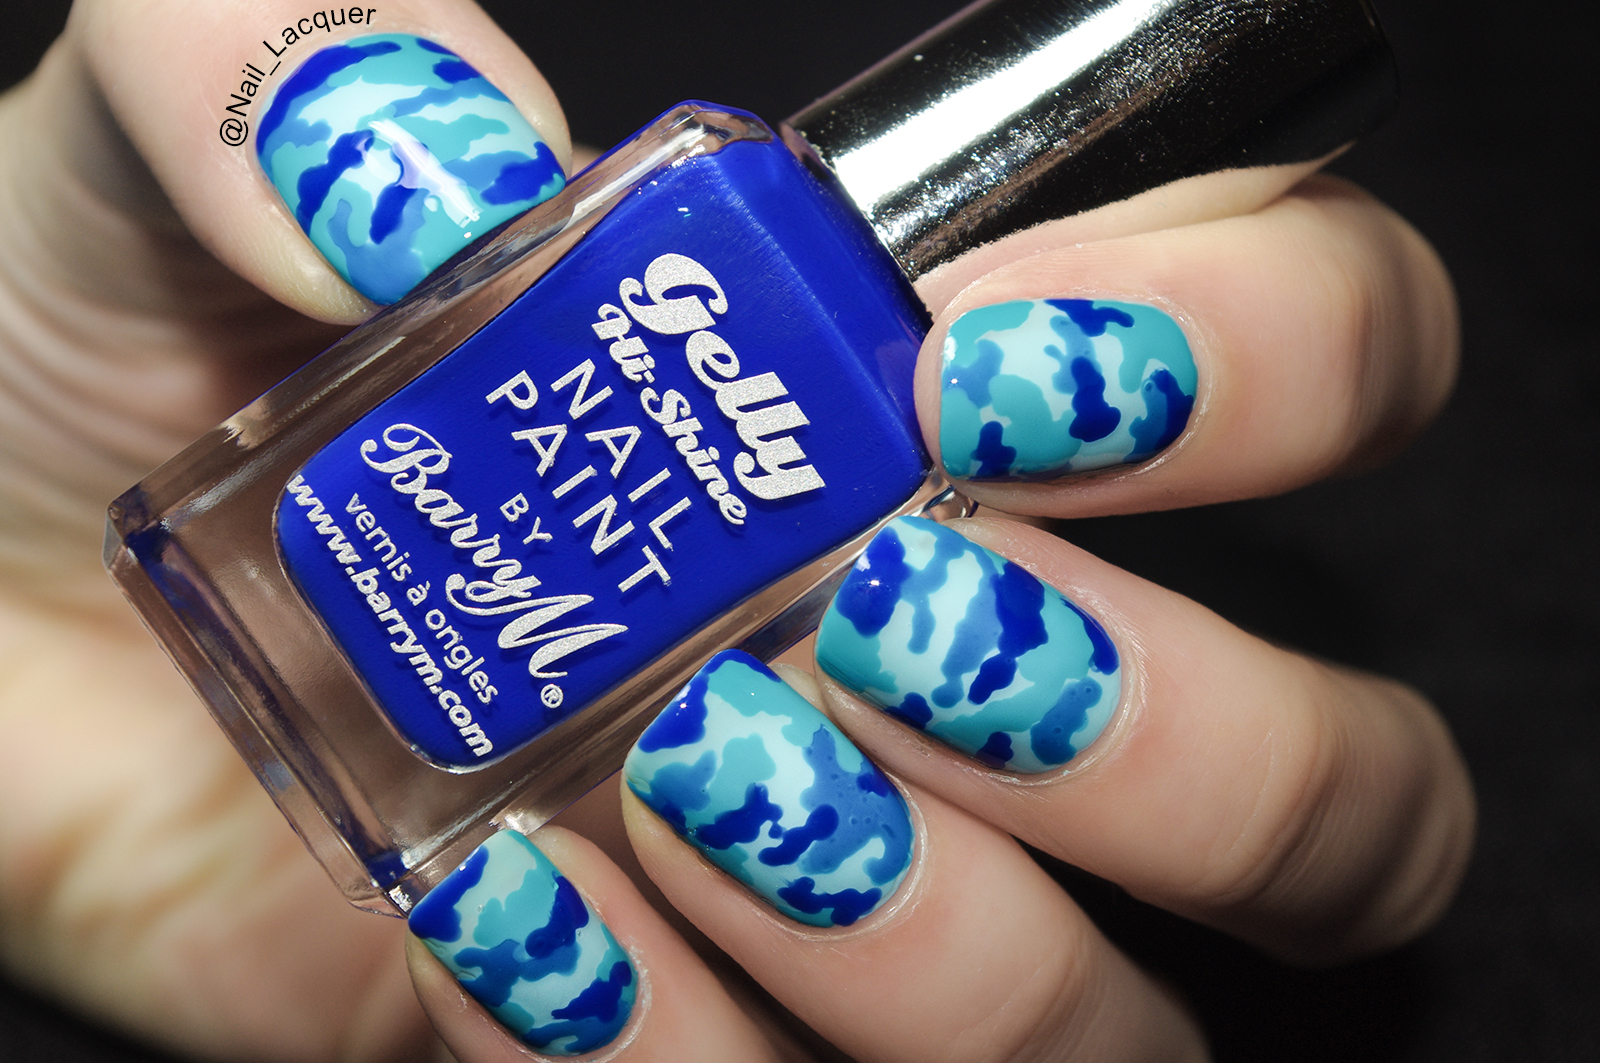
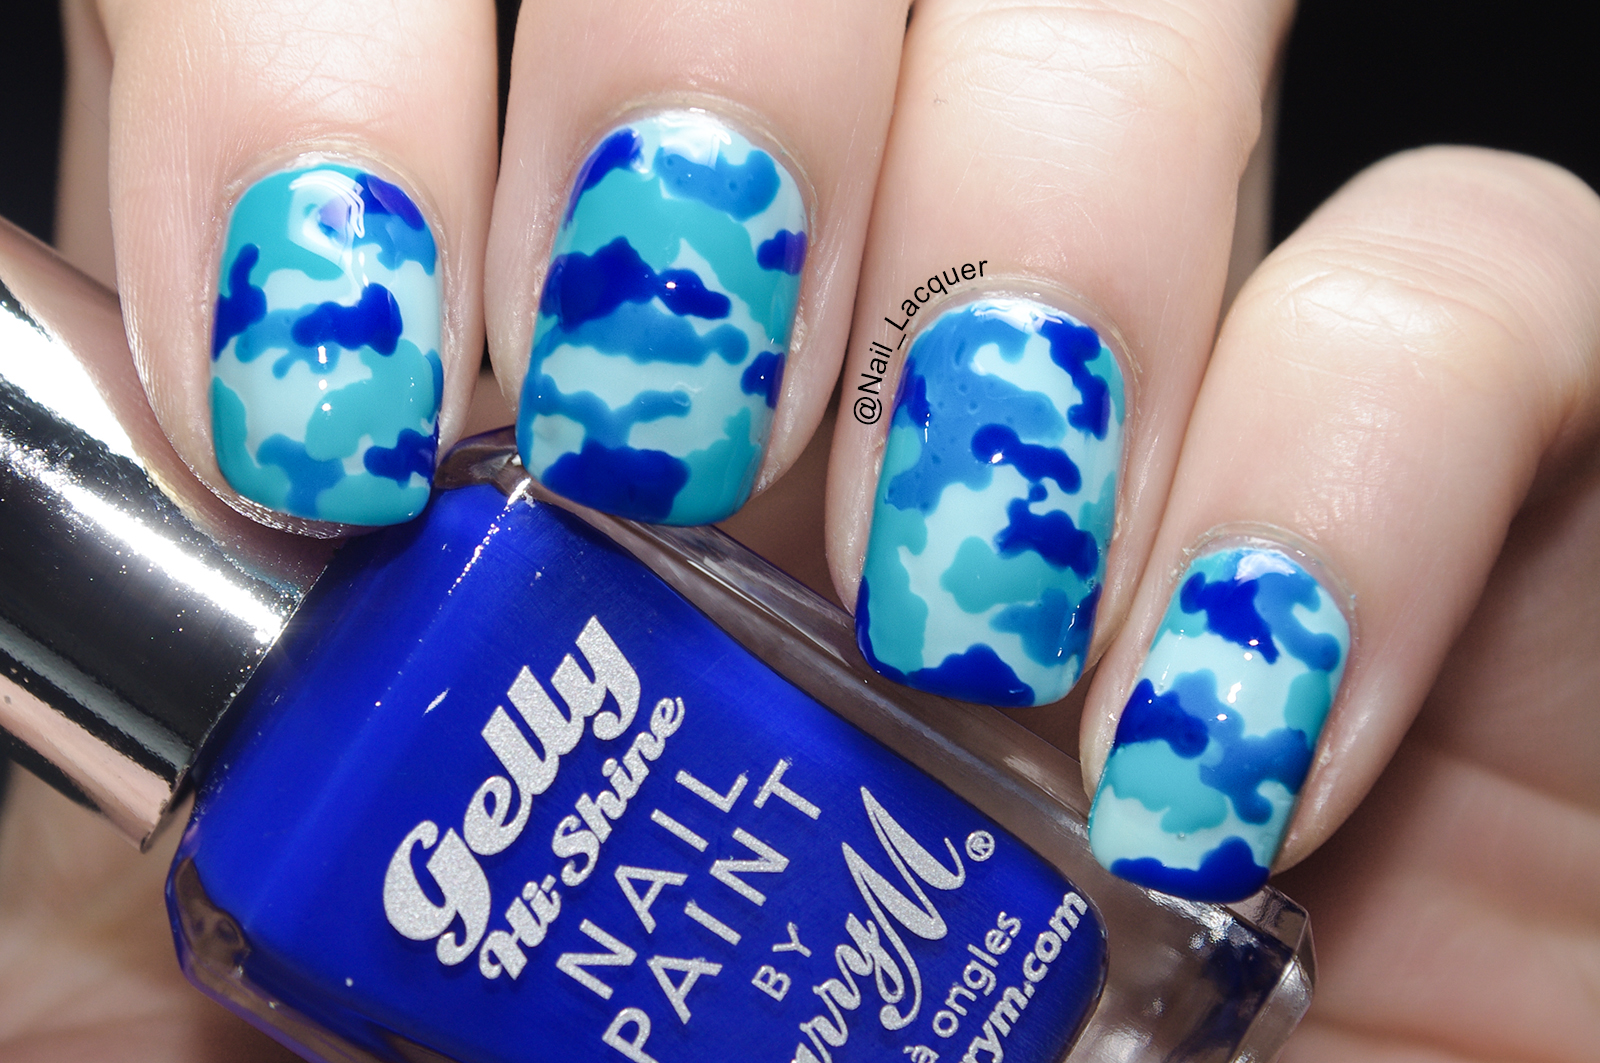
I have prepared camouflage nail art tutorial for you today. However, I thought I’ll try something different than the usual greenish tones and used blues instead. I encourage you to pick different colors and skip the traditional army look. I think in the army blue camo like mine is used by the navy boys, correct me if I’m wrong :P
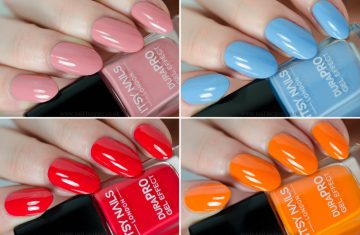
As mentioned above, for this manicure you will need 4 different polishes, I recommend 2 darker and 2 lighter shades. A dotting tool or a brush and a piece of paper or a palette.
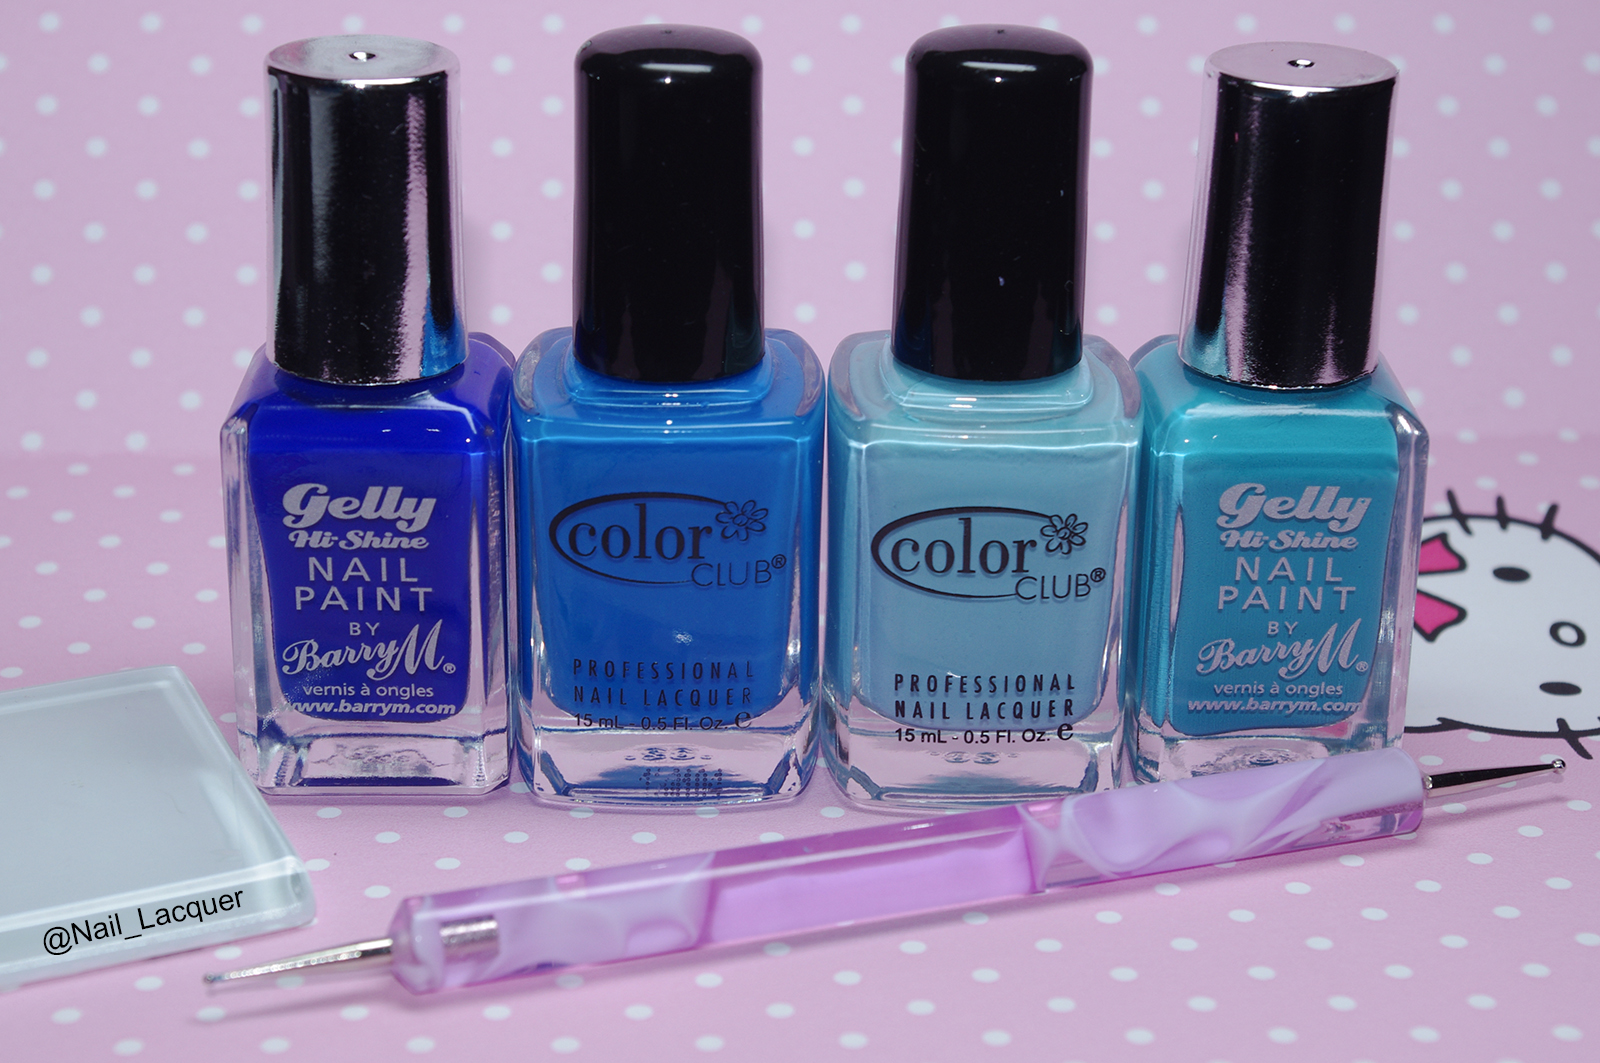 L-R: Barry M- Blue Grape/ Color Club- Chelsea Girl/ Color Club- Evolution/ Barry M- Guava.
I used two of the new Barry M’s as they are so beautiful and vibrant colors, worked well with also, pretty vibrant Color Club polishes. You can see the tutorial how to achieve the camouflage look below (click for a larger image):
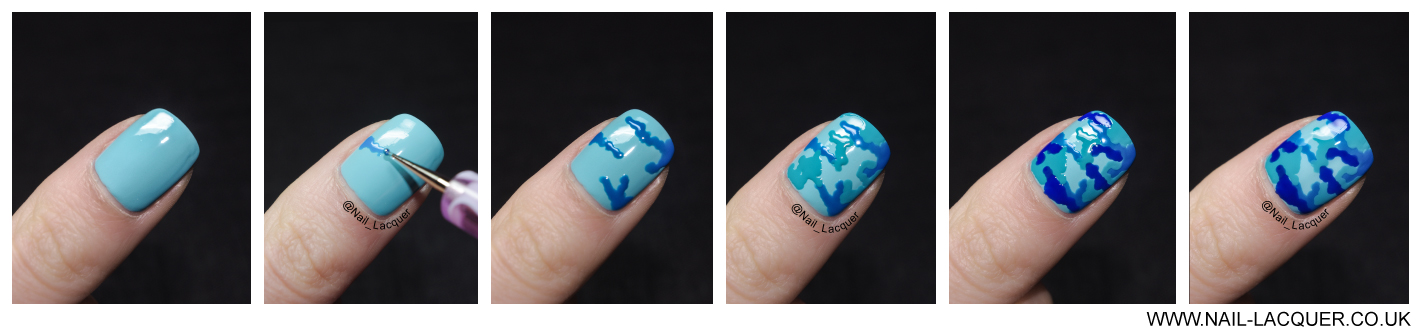
As you can see, you simply polish your nails with one of the lighter polishes and then start adding others with dotting tool to build up the final pattern. Don’t forget to top it all up with a top coat for a long lasting finish.
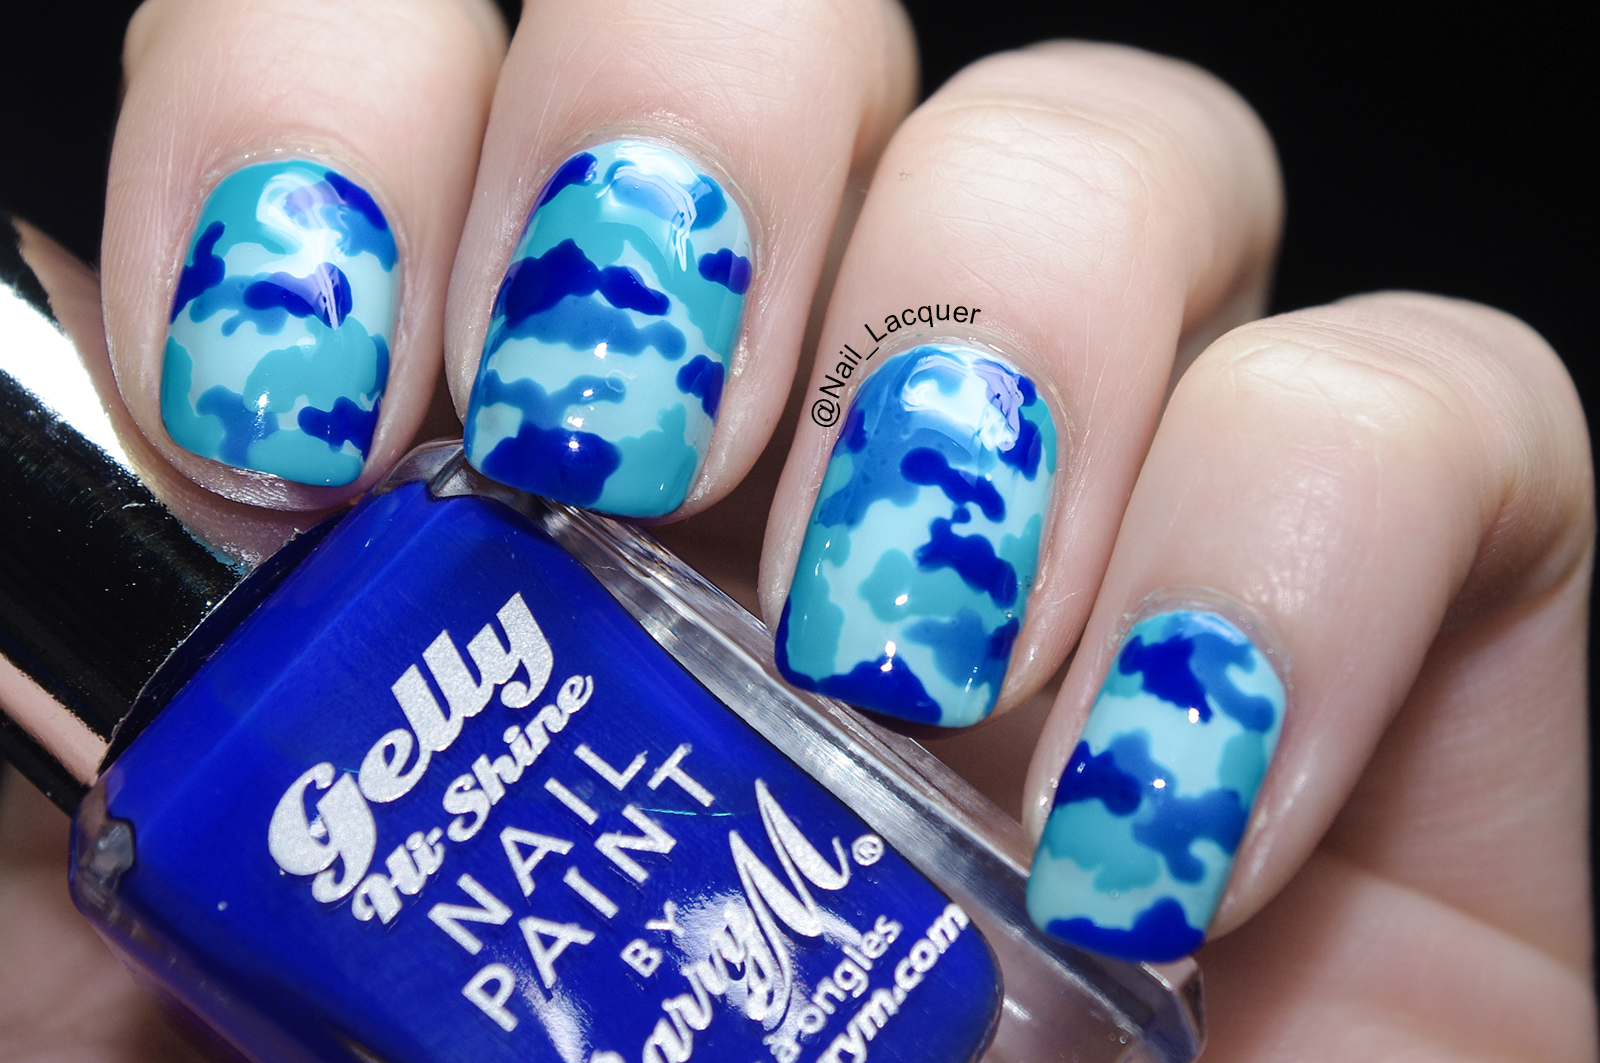
Thank you for reading, I hope that the camouflage nail art tutorial has been helpful for you!