
Hello, I got few requests to explain the red nail art I did yesterday so I made a quick nail foil tutorial showing how I used the foil and how I added the glitter etc. Hope it is clear enough for you guys as I found it a bit hard to show how I did it as it is pretty random lol.
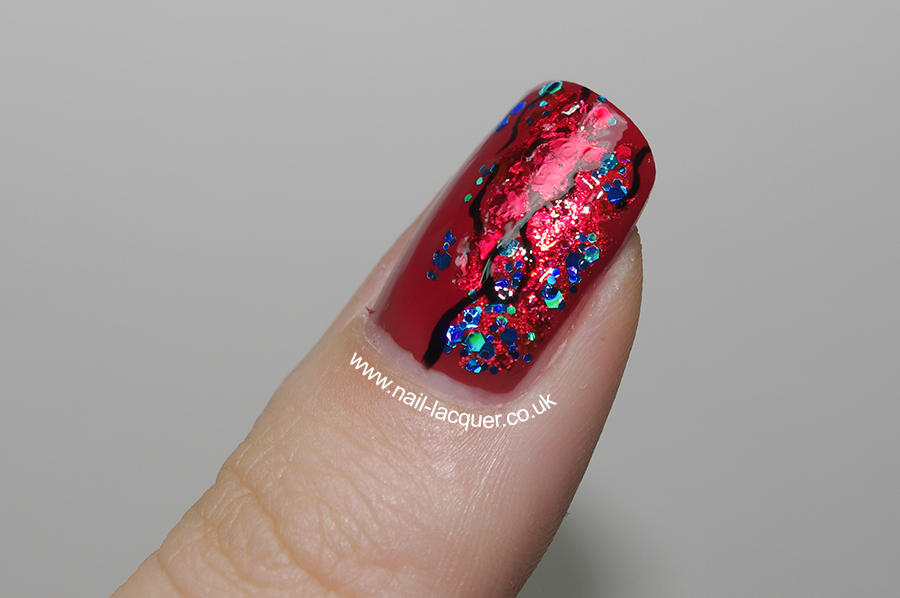
As you can see from the photo above I have used slightly different colors this time. I did it so there would be easier to make the difference between the base color, foil part and glitter. This time I used Essie Fishnet Stockings as a base and Chit Chat Ariel as the glitter.
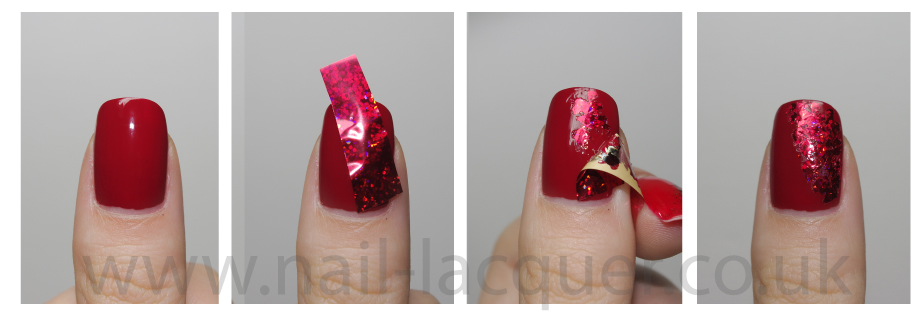
You start off with a polished nail and wait until it is completely dry. You then dab a little clear nail polish on the parts you wish to have the foil and wait until it is sticky-dry (doesn’t take long). Place a piece of foil over it, rub on it gently and pull it off. Repeat if more coverage needed.
At this point you are done with applying the foil and moving on to applying the glitter and branches.
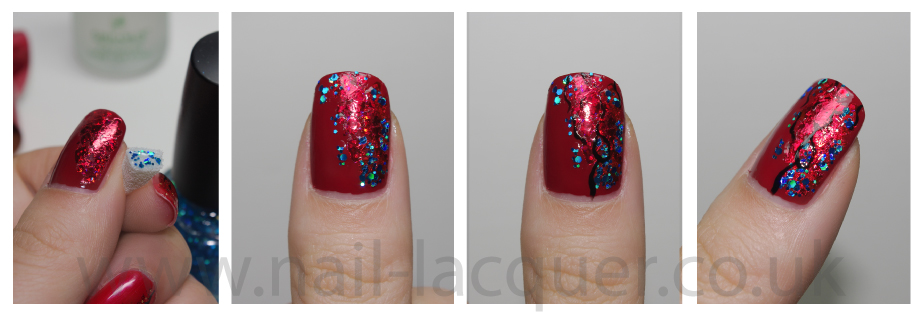
You need a tiny piece of sponge to apply the glitter. Use dabbing motion to add the glitter and be random with it. I added it around the foil edges. I then used W7 Black and added few branches with the thinnest nail art brush I have. I was again quite random, just a bit here and a bit there. This nail art is very irregular and each nail is meant to look different so don’t hesitate to be creative.
I hope this tutorial was clear enough for you, would love to see your version now :)
Thanks for reading and have a lovely Saturday!