
Hello! A quick Orchid nail art tutorial to show you today. To be honest, the tutorial really isn’t the best, hence just sharing the Instagram version. Find it here.
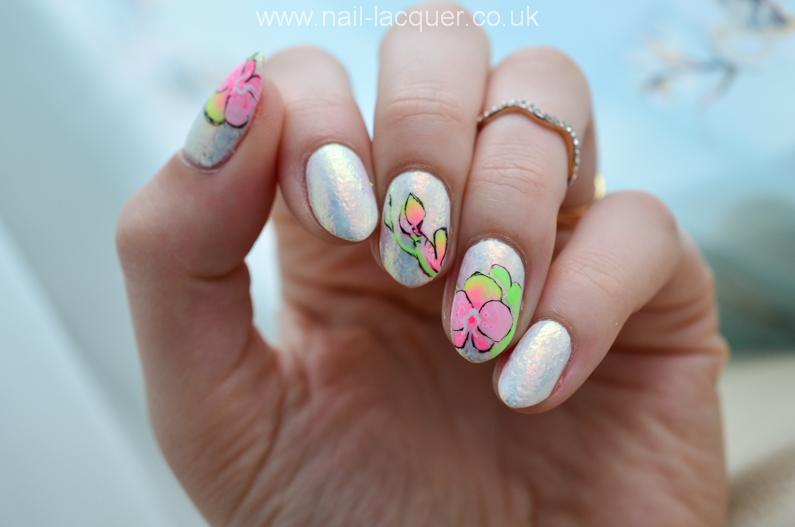
For this look I started off using Cirque Colors Carpe Diem as the base, it took three coats to get a nice and even finish. It has always been a two coater but I think the formula is starting to become a little bit thicker, I will add a bit thinner next time. I then dabbed Essie Shine of the Times onto the nails using a sponge creating a lush pastel rainbow multichrome effect [emoji smiling cat face with heart-shaped eyes].
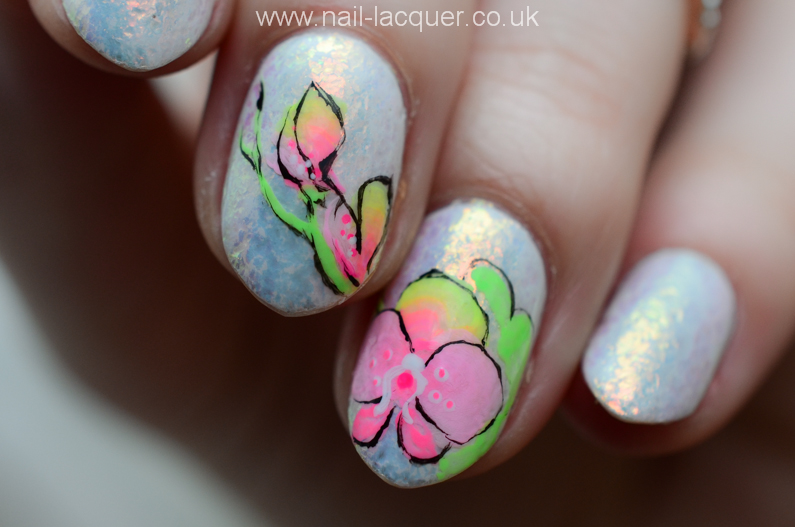
I then used the following acrylic paints: Brillbird 39 (neon yellow), Crafters Acrylic Pink Neon, Americana Bahama Blue and Reeves Black and Titanium White.
As of brushes I used Mosaic #4 one stroke brush and Kolinsky size 2 brush.
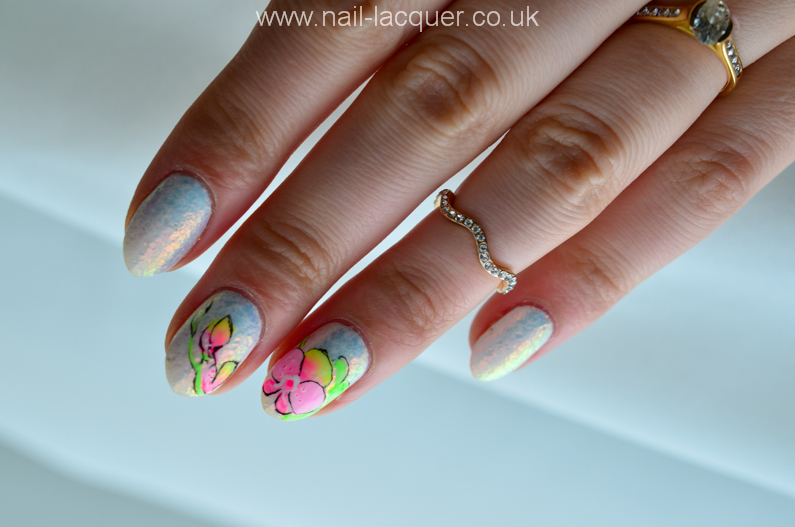
I topped it all with Poshe fast dry top coat.
As of the acrylics the Brillbird one is the best to work with, Reeves ones are good too but Crafters Acrylic and Americana (both from Hobbycraft) are a bit too runny for one stroke. I think this is the main reason the tutorial didn’t turn out the best.
P.S. The original author who I got the idea from is Dorota Palicka, see the orchid she created here.
Thanks for reading! xxx