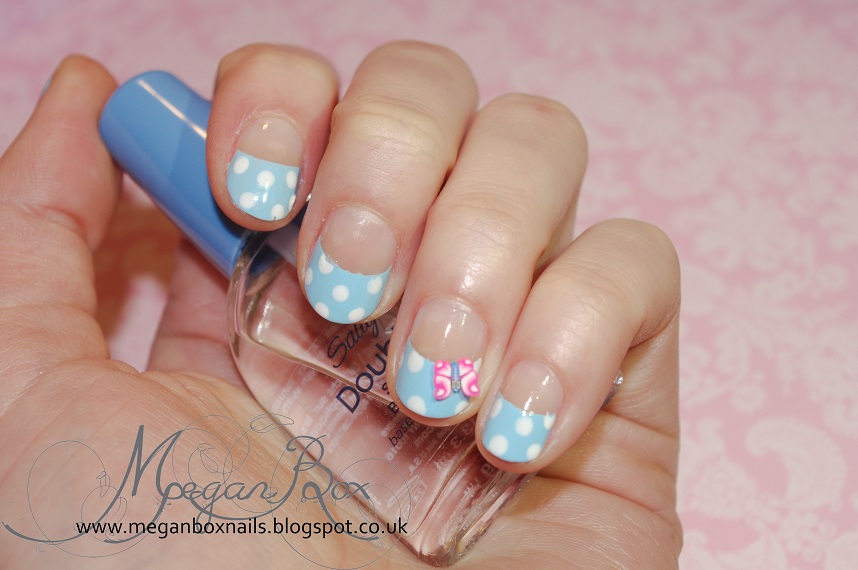
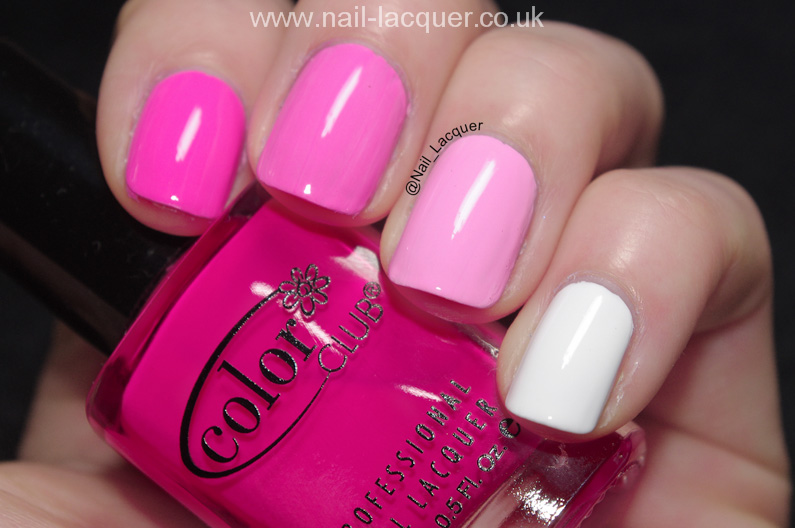
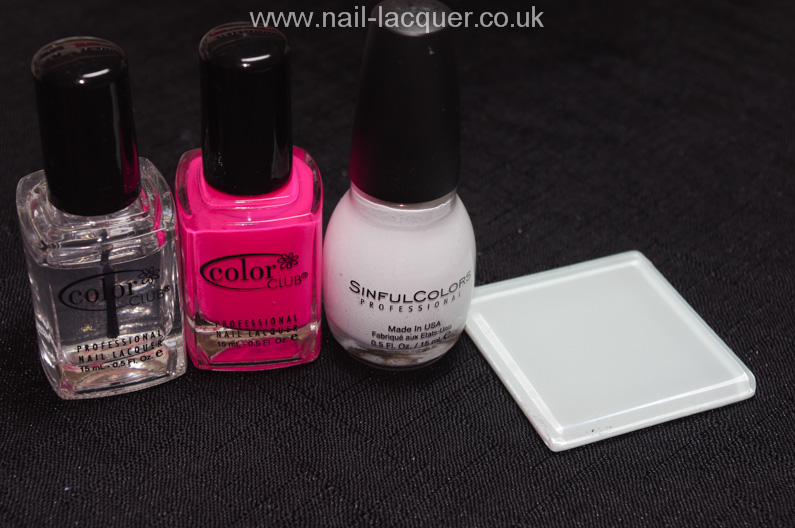
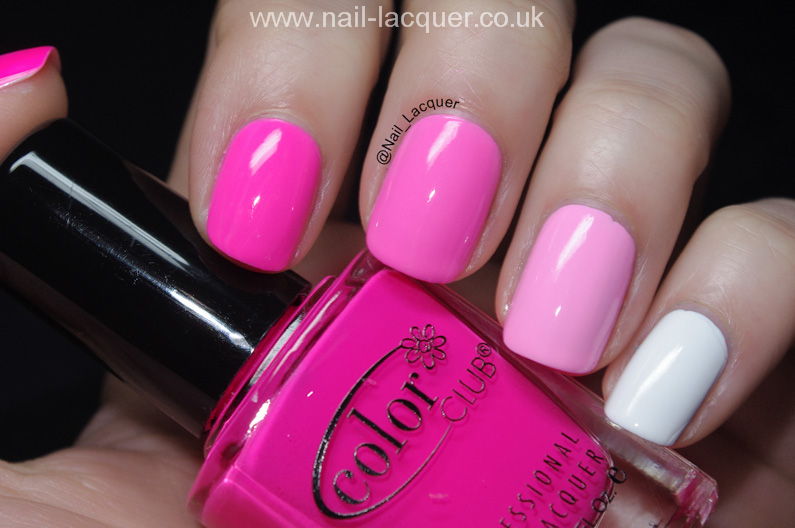
Hi all! Today I have a quick skittle ombre nails tutorial. All you need is 2 different polishes (one lighter and one darker shade), a brush and a topcoat. The skittle ombre will look like this:
Skittle ombre nails
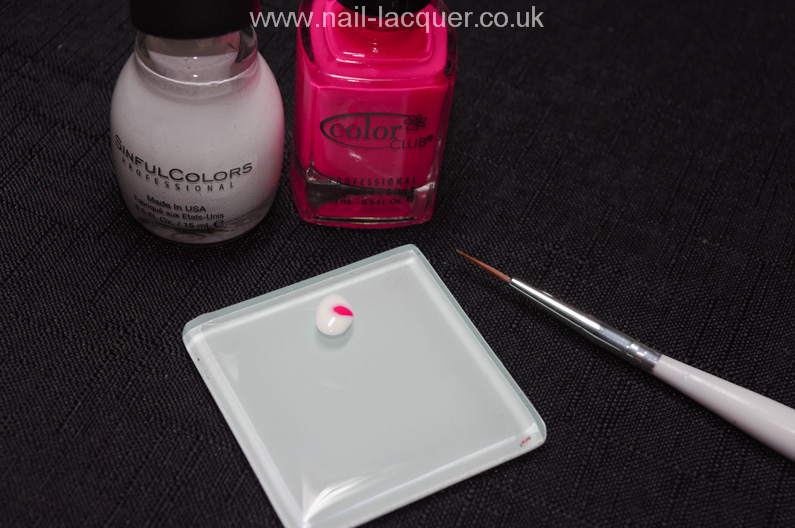

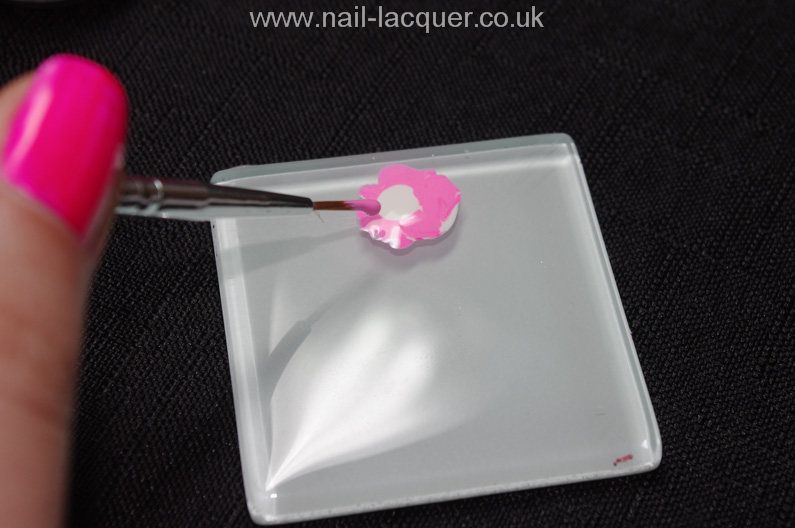
1. Start with 3 drops of light and 1 drop of dark to get the color for your ring finger (double the amount if doing both of the ring fingers as then the colors will be exactly the same, however you have to be fast because the polish starts getting tacky quick, I would start with just one nail/hand at a time and remember/write down the ratios used).
2. Use the brush to mix up the colors, mix until the polish looks nice and creme with no darker lines.
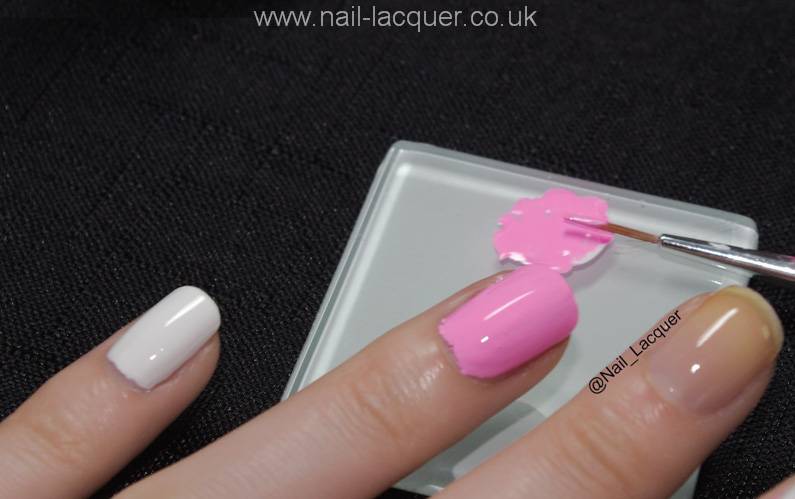
3. Cover your ring finger with the achieved color.
4. Repeat these steps for your middle finger, but this time use about 2 drops of light polish with 1 drop of the dark one.
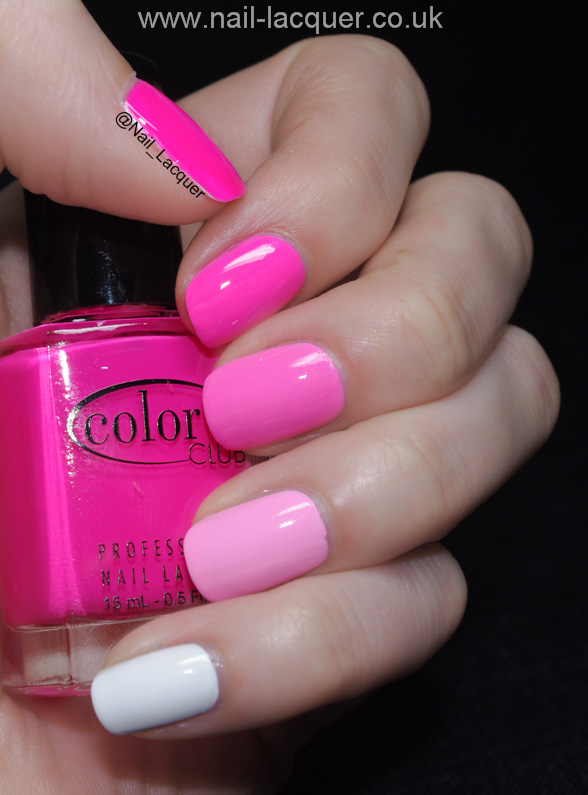
5. Same process again for your index finger, add 1 drop of lighter color and 1-2 drops of the darker. You can play around with the ratios to achieve the best tone.
6. Top up with the top coat and enjoy!
I hope this skittle ombre nails tutorial has been helpful. :)
Thanks for reading and enjoy your weekend!