Hi and happy weekend,
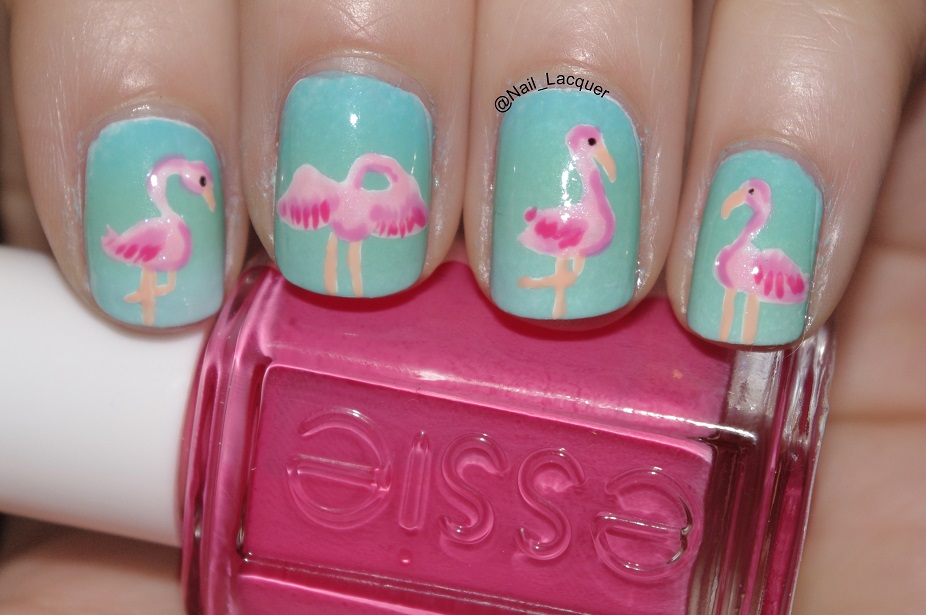
You all probably remember my flamingo nail art from earlier this week, I got quite a few requests for a tutorial so I decided to make one. Sorry that it took few days until I finally got to it, I have my last 2 exams next week and I have been studying a lot this week.
Here is what you need for a tiny flamingo:
- Nail art detail brush (mine is with angled tip)
- White polish (Sinful Colors Snow me white)
- Apricot color (Claire’s 58118)
- 3 Different pinks (Essie We’re in it together/ Cascade cool/Off the shoulder)
- Black polish (L.A. Colors Black velvet)
- Top coat (Color Club Fast try top coat)
- Palette.
Step 5: Use the lightest pink of the three to fill in the areas that are covered with feathers, use dabbing motion to do that.
Step 6: Fill in the legs and the peak with apricot polish.
Step 7: Add some shadows with the medium pink. Add them on top of the head, under the neck, under the belly and shape a little wing on the side.
Step 8: Add tiny feathers on the wing with the darkest pink, use the tip of the brush to get the thinnest lines possible (for a detailed look).
Step 9: Add a tiny dot with the black polish, using the tip of your brush as a dotting tool.
Step 10: Apply a layer of top coat to finish the look.
Repeat on other fingers and enjoy!
Hope this tutorial has been helpful to you. Please, please share your nail art with me if you gave it a go, I would really love to see it!


