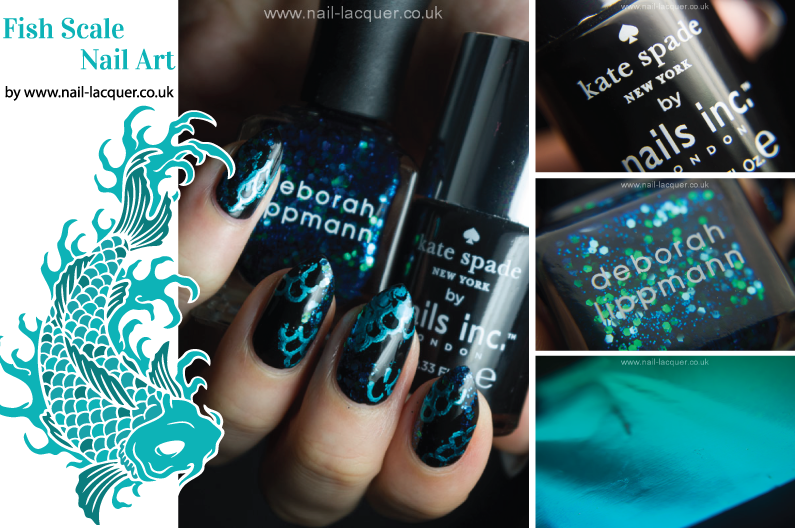
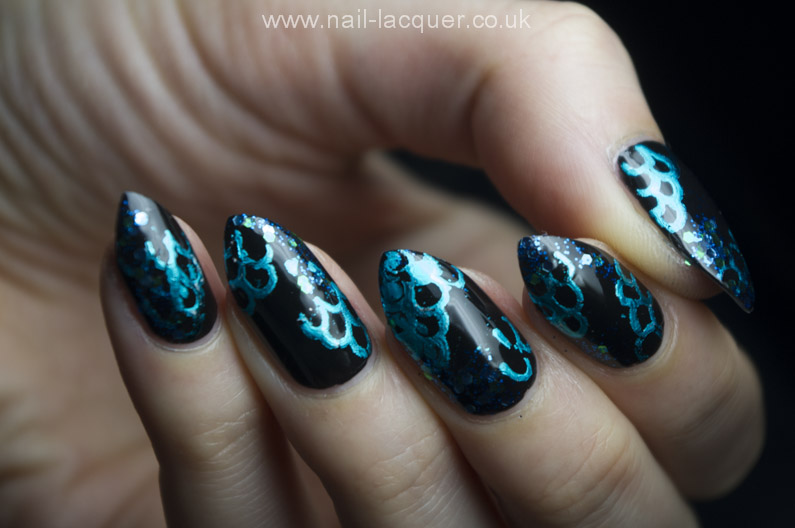
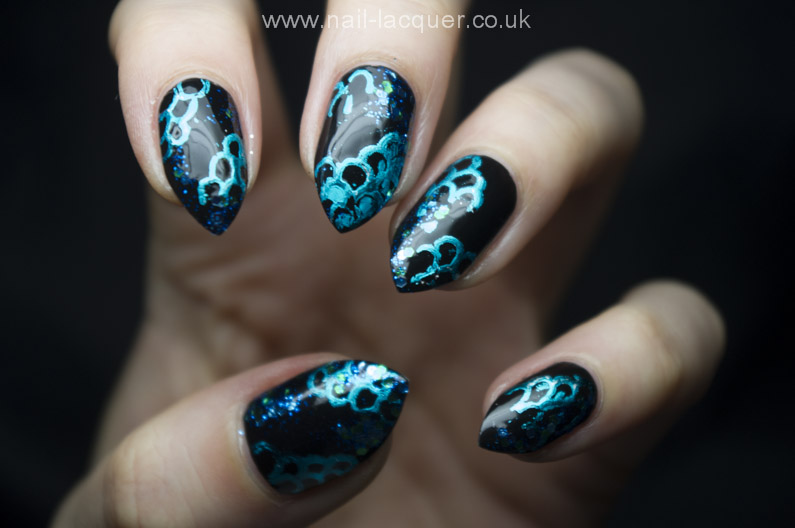
Hi and happy Monday! Today I have the long promised nail foil pattern tutorial for you guys. I used this style to create the “We Heart Nail Art” design last week. Today I have designed some fish scales using the same technique.
Nail foil pattern is a pattern with metallic finish and it is created with nail foil. You can purchase nail foil quite cheap via eBay. For the Nail foil pattern you will also need nail foil glue and a toothpick. As of polishes I used Nails Inc. New York Noir as a base (black) and Deborah Lippmann Across the Universe (glitter). For this design I also used a tiny bit of make up sponge. Ok, let’s see how it’s done then ;)
0. Start off with a base colour of your choice (I am using black).
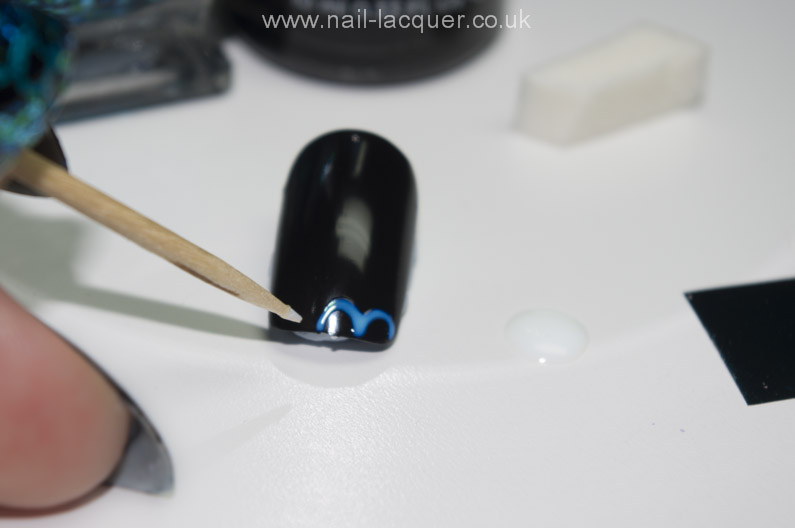
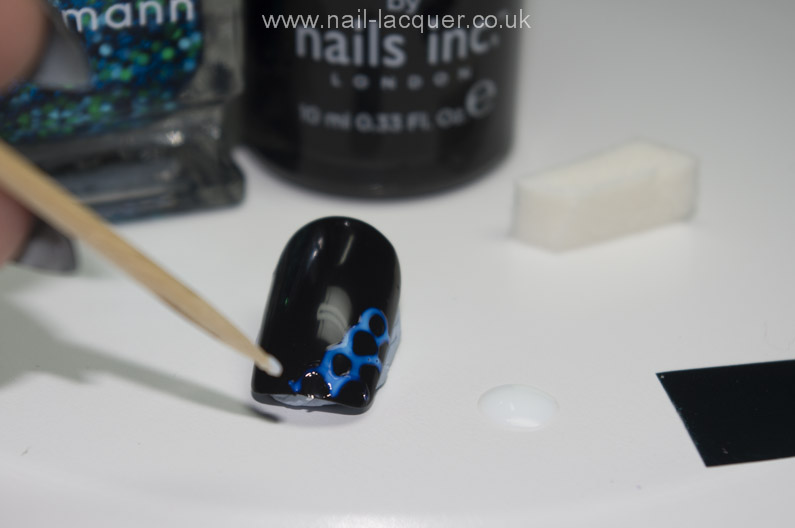
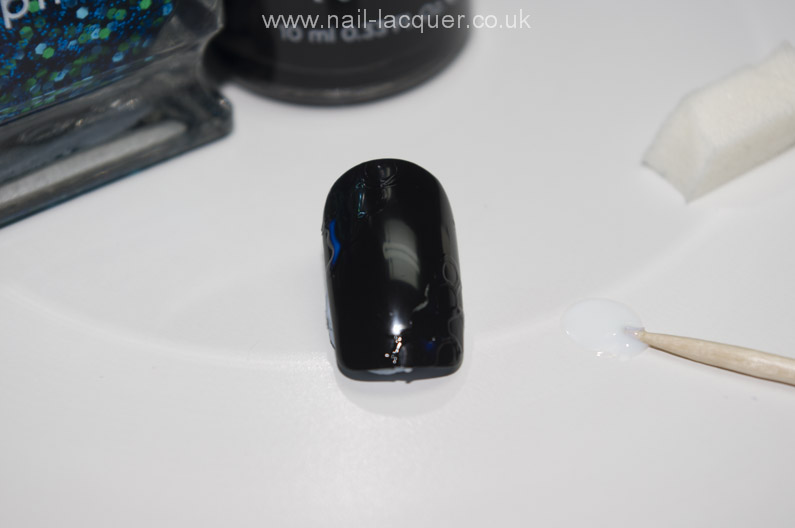
1. Dip the toothpick in nail glue and then use it as a pen. Create the scale pattern by drawing little U-shapes.
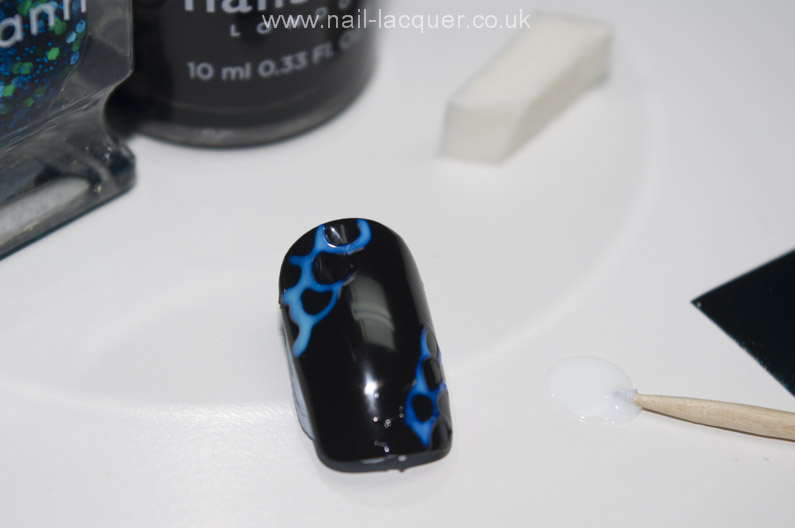
2. Wait for the nail glue to dry from gooey into a sticky stage (mine also turns transparent when ready for foil).
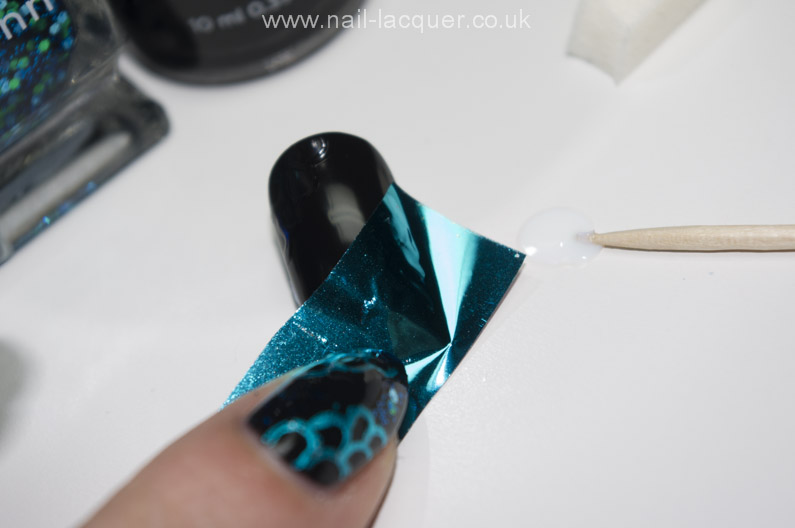
3. Cut the foil in a workable size.
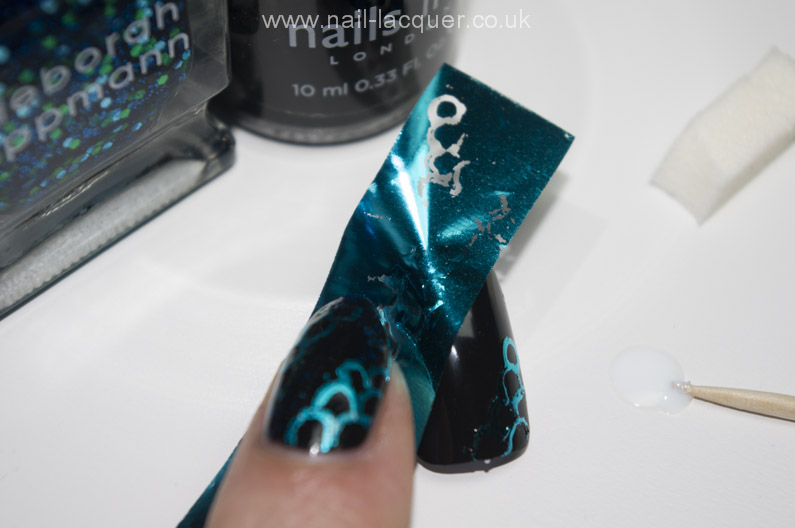
4. Gently press the foil piece on top of the the sticky glue pattern.
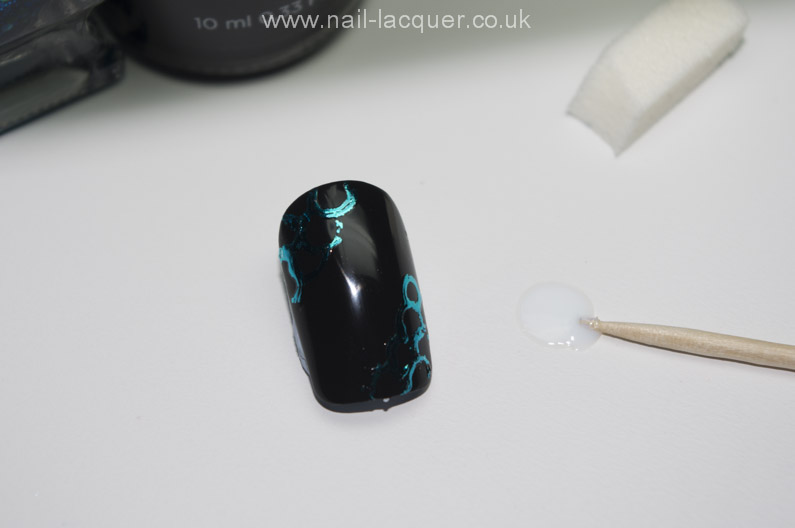
5. Tataa! Beautiful metallic fish scale pattern.
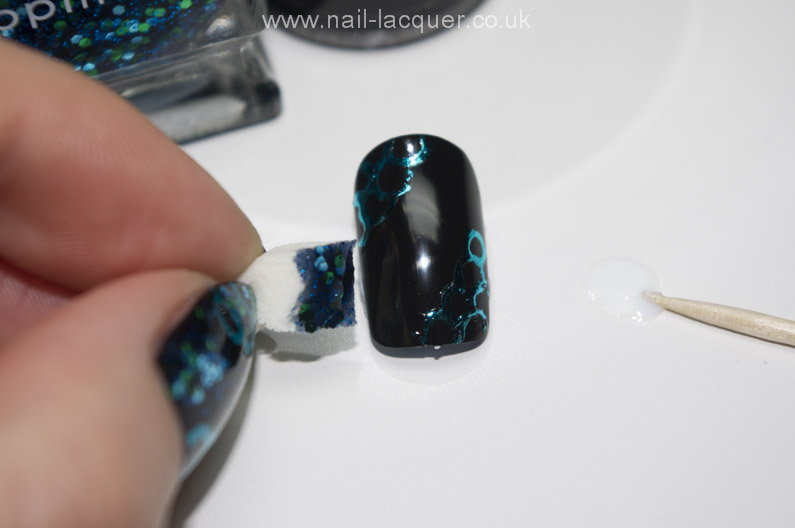
6. Add glitter with a small piece of make up sponge.
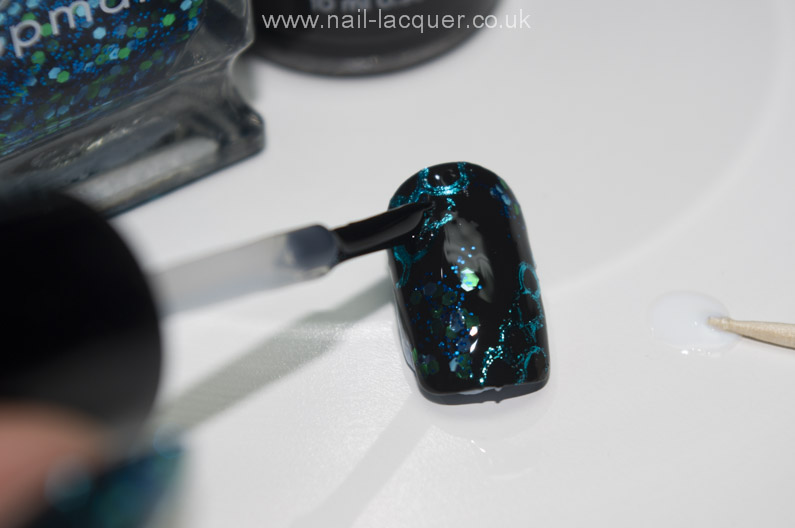
7. Add your top coat (I used Poshe fast dry top coat). Now repeat on each of your nail :)
Overall a pretty simple technique with amazing results. I really love how unique the metallic finish looks. From my short experience I can say that the one colour foil works better than the pattern foil. I am quite excited to try out different patterns, such as swirls for example.
Thanks for reading and please let me know what you think of my nail foil pattern tutorial! :) xoxox
Vector credit Vecteezy.

