Hello, today I am talking about how to take good nail photos and show you how I take my photos and videos.
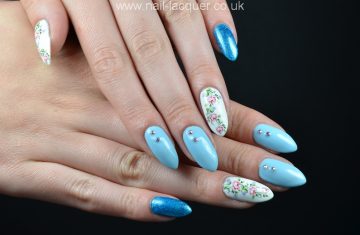
Over the (almost) two years that I have spent blogging it has always been a challenge and an ambition to improve my photos. Like most of the nail bloggers I started from the bottom (proof below). These photos were taken in December 2012 :D
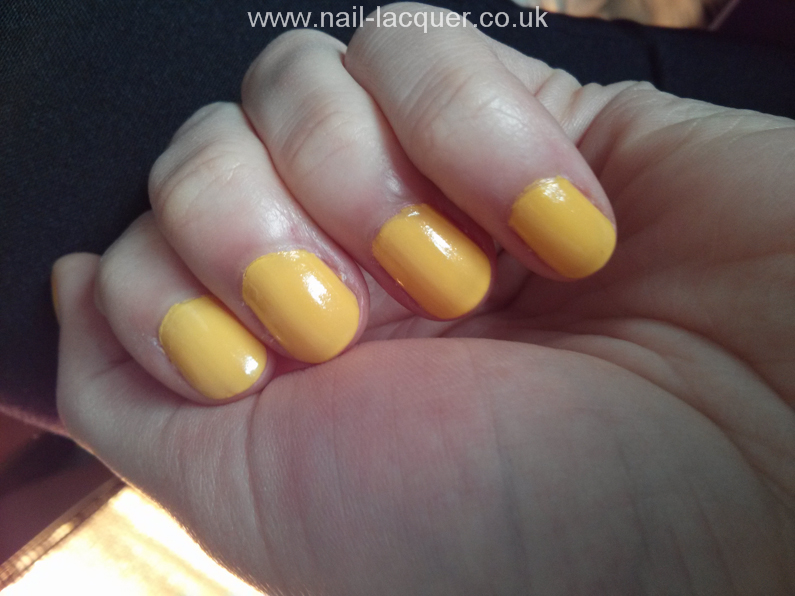
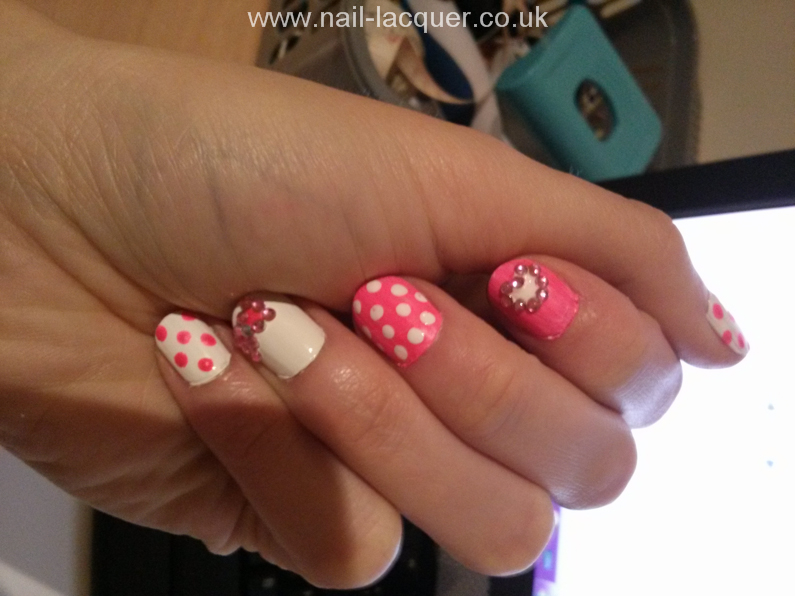
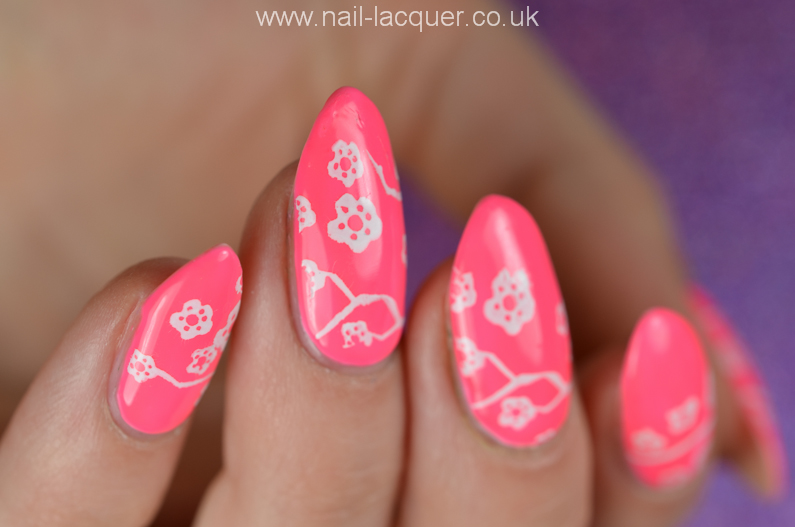
I don’t think these photos are the worst ever but there is a lack of sharpness and bad lightning and I’d say the positions are not demonstrating the polish/nail art very well. A good starting point to develop into this however:
How to take good nail photos?
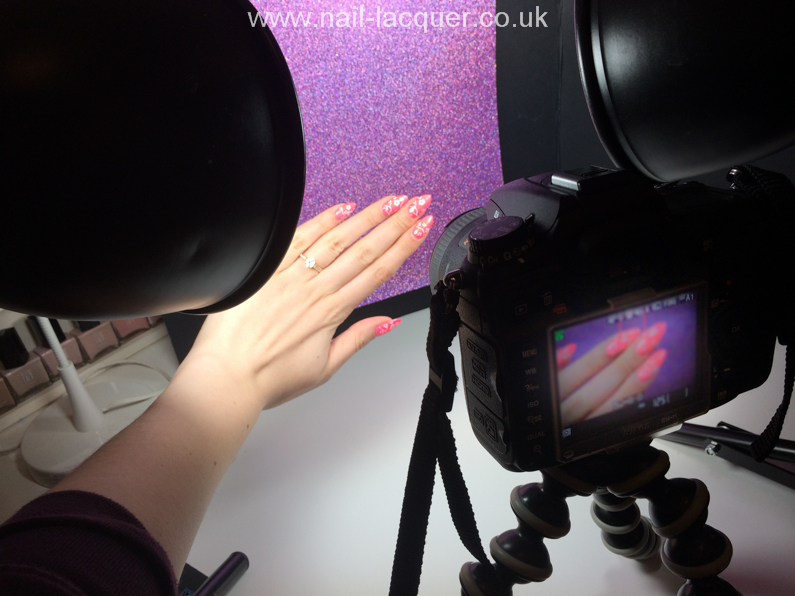
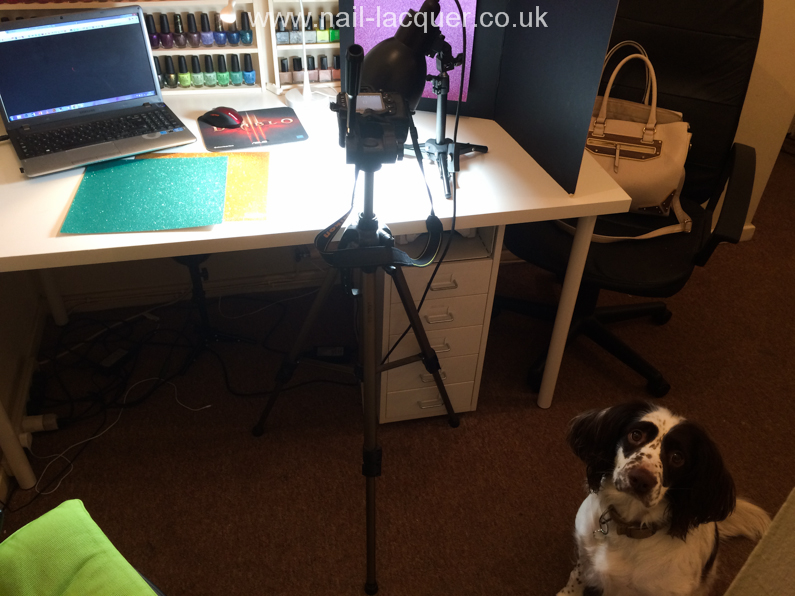
I take my nail photos using Nikon D7000 camera with NIKKOR 40mm f/2.8G lens. I also use two photography lights and a table tripod.
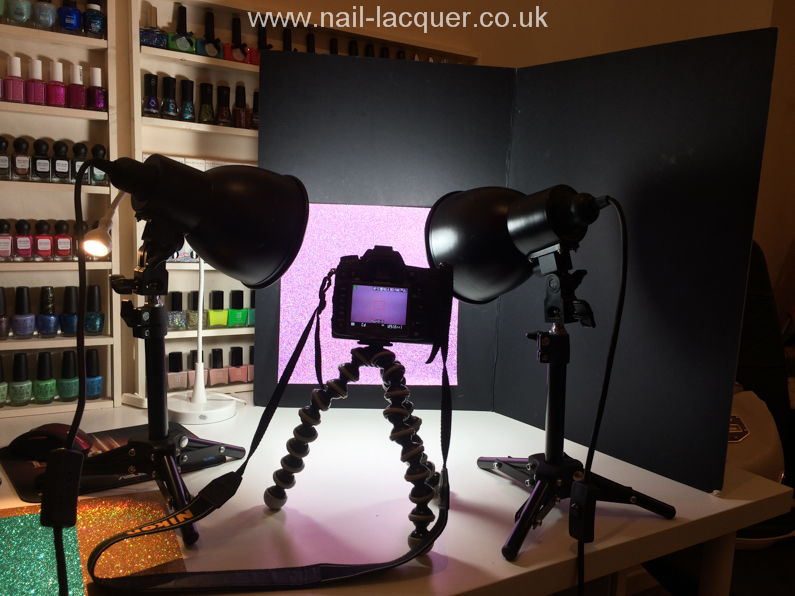
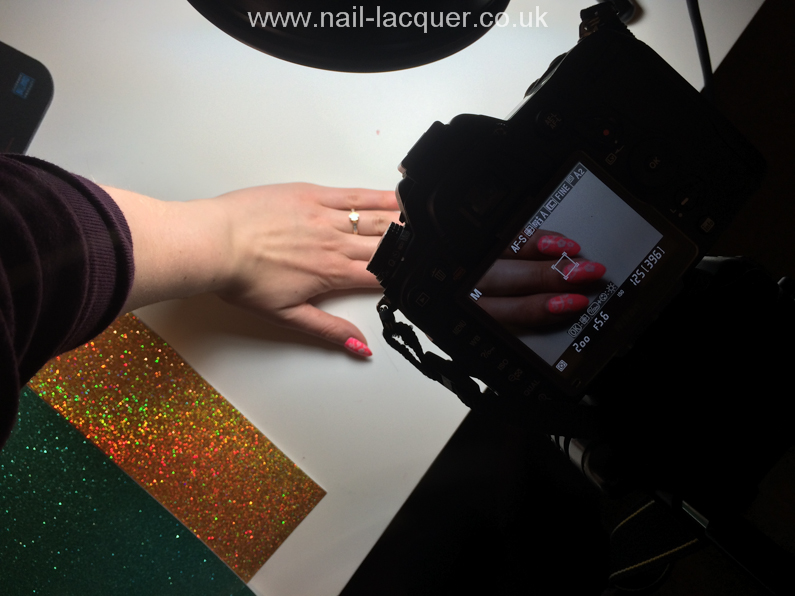
As of the background I use an A1 size Daler Rowney Mountboard in black (got it from HobbyCraft in store). The board is white on the other side. It’s great for the times I fancy having a lighter background.
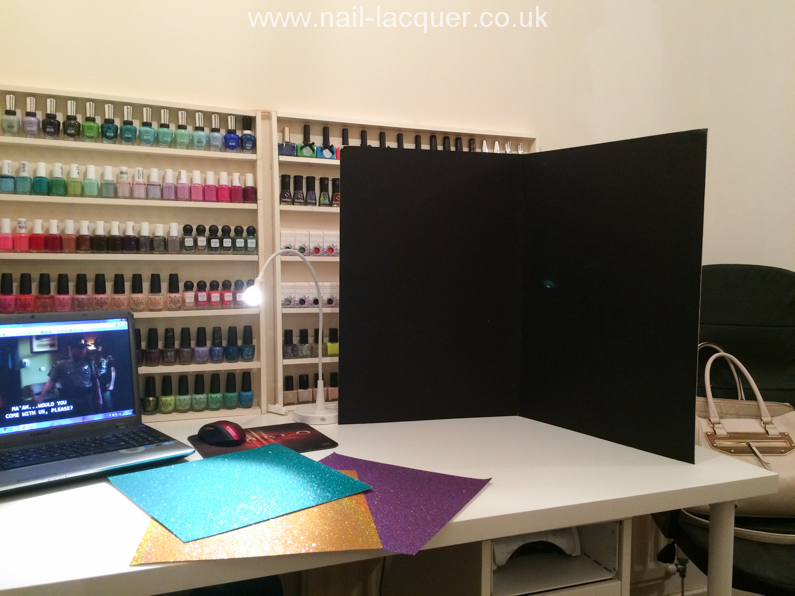

I bent the mount board sheet in half so it would stand up on it’s own. More recently I have also been using these glitter papers as a background to sparkle up my photos (also from HobbyCraft in store). I stick them on the mount board using blue-tac. The mount board is great because after I am done with taking the photos I can just bend it in half, throw the glitter papers in the middle, and store it away between my helmer and shelf so it doesn’t take much room at all.
The two photography lights are also stored under my table while I am not taking photos. On some rare occasions I take photos in the daylight but that’s mostly only when the polish looks totally different in the fluorescent light.
I use my camera in Manual setting and usually take photos with no flash, ISO 125ish, shutter speed 1/200 sec and depth of field around f 4.5-8. I also play around with the settings a lot depending on how much of a close-up I am doing and how much texture I want to capture etc. I have been reading this and that about cameras but I am still a total noob and mostly just play around with all the buttons pretending I know what I am doing. For holographic polishes I use flash, it brings the holo sparkle out well :)
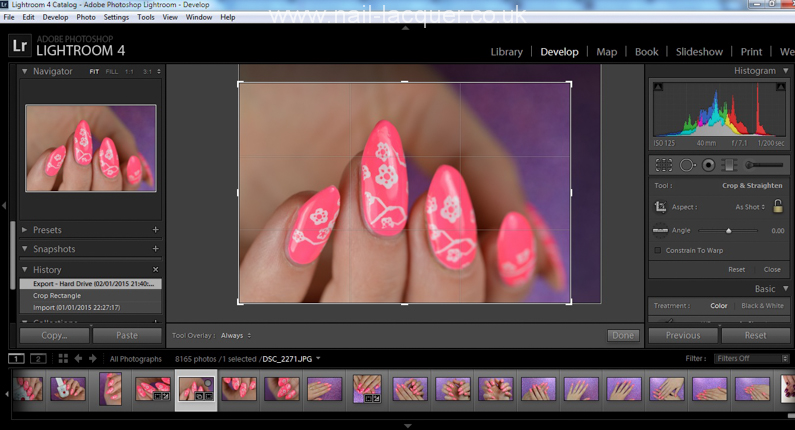
I normally take about 20 photos of one look and then choose about 4 to be featured in the blog/social media.
I edit my photos in Lightroom. The main editing I do is cropping, resizing and watermarking my photos. The watermark is put on automatically when I save the photo as I am just way too lazy (or busy resting?) to play around with Photoshop chasing my cuticle curves with curvy watermarks lol. No-one’s got the nerve to steal and cut out my watermarks anyway ;)
On some rare occasions I play with hues a bit but it is rather pointless as we all use different screens to view the blog and the colours would never be 100% accurate anyway. But I do my best!
For my videos I use a very similar set-up. Instead of the table tripod I use a full size tripod and only one of the photography lights. I record my videos on auto setting and edit them in Windows Movie Maker. I am still learning a lot about videos so I am not one to share great advice in this area unfortunately.
I think this pretty much covers how I take my nail photos, if not feel free to shoot some questions on my way!
Thanks for reading :) xxx