Hello fellow nail lovers! I took a quick break from all the Christmas nail art to show you Frontcover Cosmetics Nail Art Collection. Be warned, this is a picture heavy post as there were sooo many different looks I wanted to try out lol.
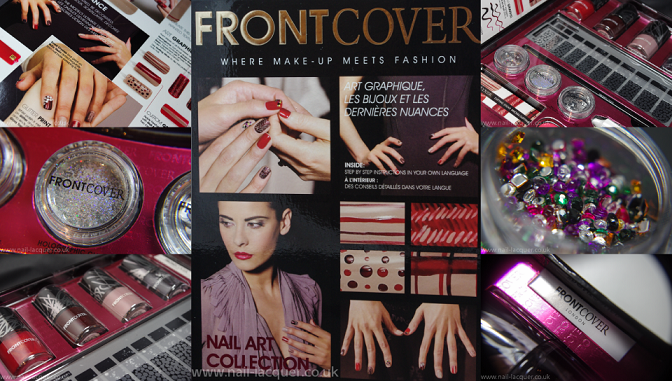
Frontcover Cosmetics Nail Art Collection is a fabulous nail art kit for people who are just starting out with nail art. It offers a great selection of tools and other bits and bobs to create many different designs. The kit includes four 8ml nail polishes: Red Shoes, Ruby Resin, Glossy Shell and Gloss Top Coat. Two sets of nail stickers, mixture of different coloured/shaped rhinestones, holographic glitter and silver large circle glitter. As of tools it has a nail art brush, two sided nail file, dotting sticks and nail glue.
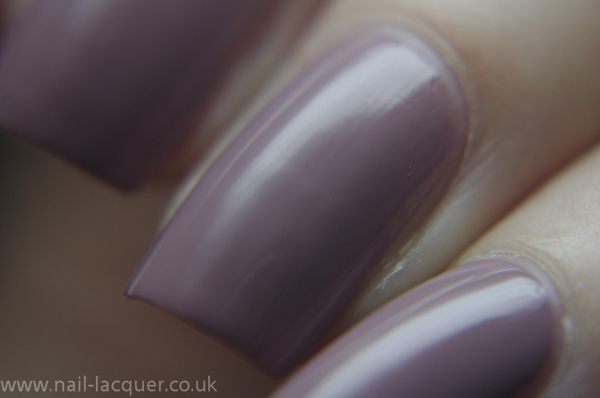
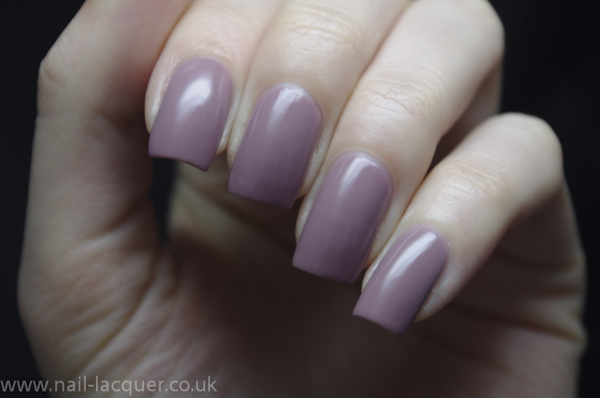
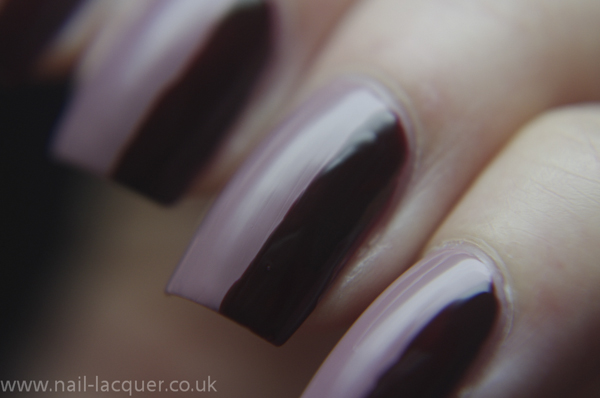
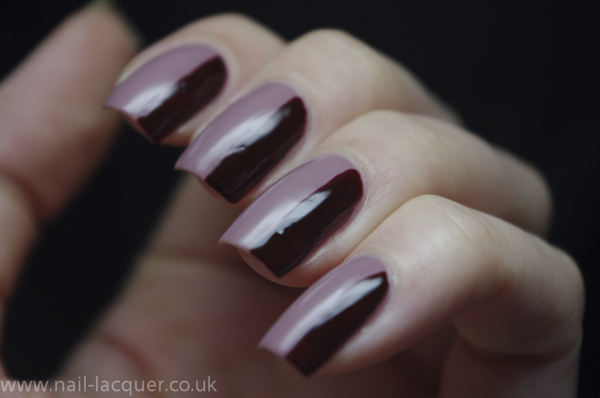
Glossy Shell was the first polish that landed on my nails. The colour is lovely and the application was easy. I applied two coats with no base coat. With this fun kit one could not stop there, so I decided to add some nail art using the brush and dotting tools provided.
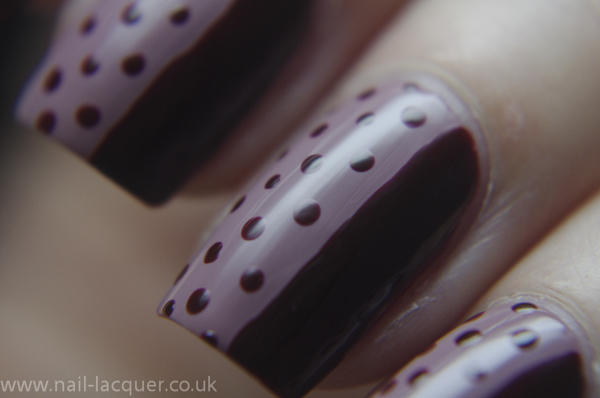
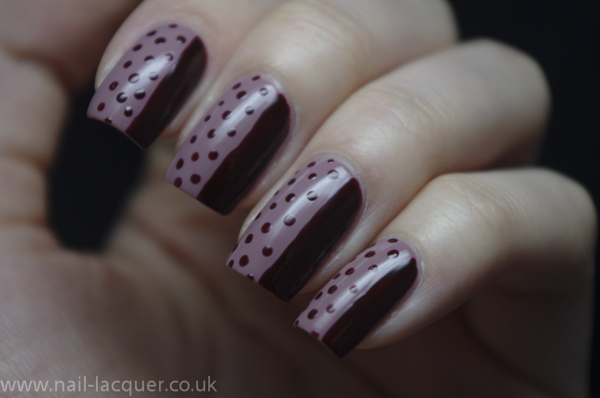
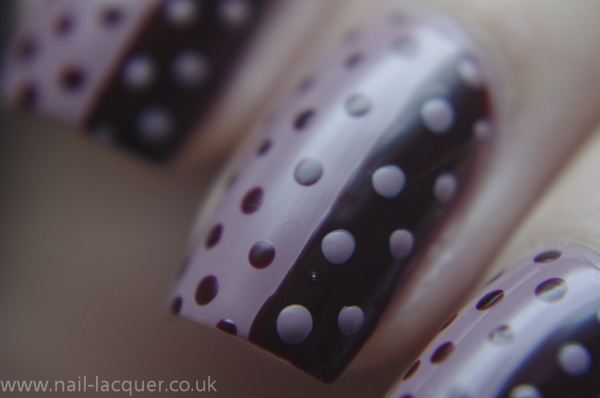
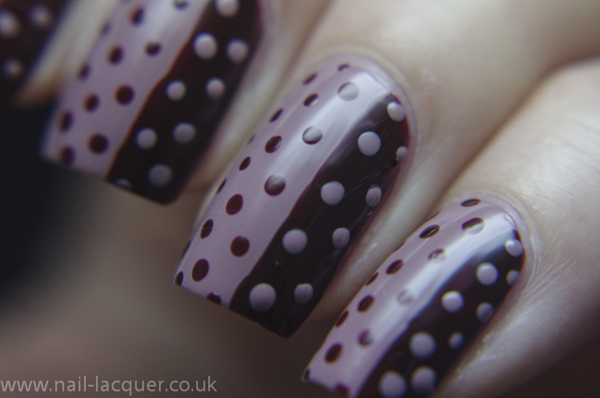
I turned my nails into three quarters of light and one quarter of dark colour. I used Rubi Resin polish and the provided nail art brush. I then started adding dots with the small dotting sticks.
Loved the partly dotted look but could not stop myself and added some more dots :P
Both of the polishes were nice and opaque and therefore perfect for nail art!
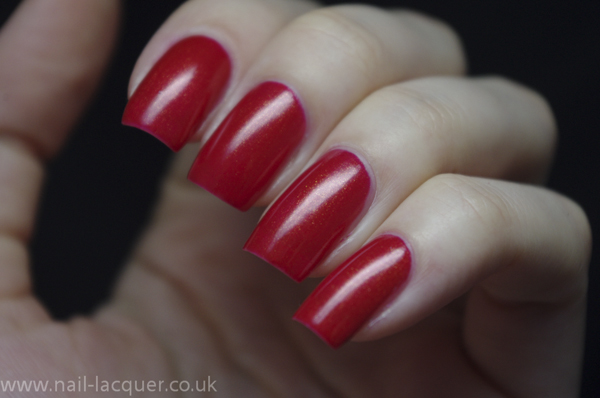
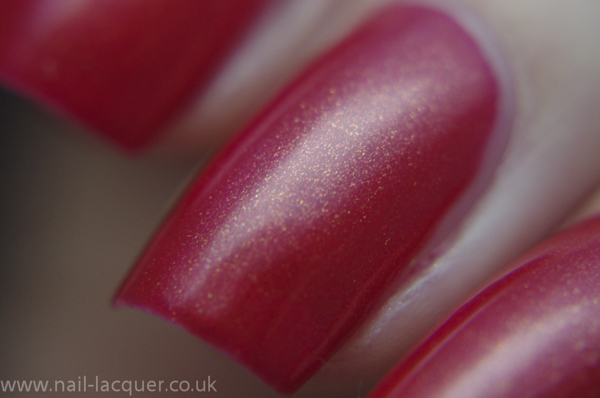
Next I used Red Shoes. It’s a red polish with rich golden shimmer. This polish was again, easy to apply, but was less opaque and needed three coats. The golden shimmer is what makes that polish so special and maybe even Christmassy!
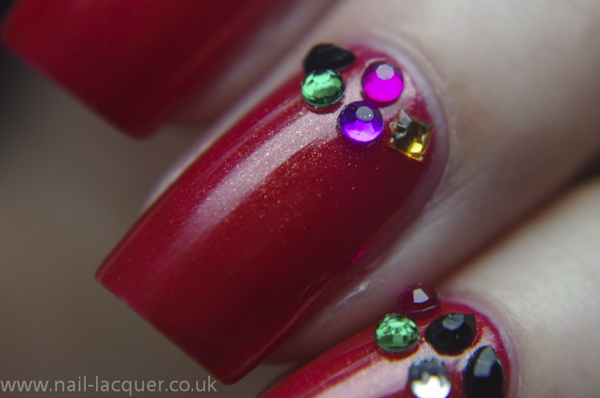
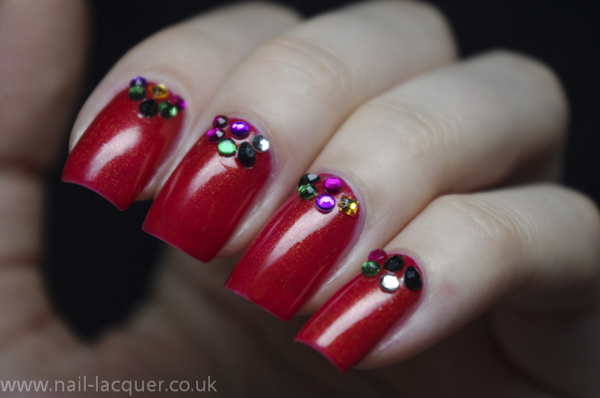
Next I was in the mood to play around with the rhinestones. There was a great selection of colours: silver, pink, purple, black, green and yellow. Also a great selection of shapes: round, square and tear shaped.
I applied the rhinestones using Gloss Top Coat but the nail art glue would be a better option for longer lasting look. I try to avoid using any nail glue as much as possible because I have noticed it sometimes sticks to my nail bed too hard. Instead, I use clear polish and top coat which usually works fine for me. I am so happy with these rhinestones, such vibrant colours and cute shapes :)
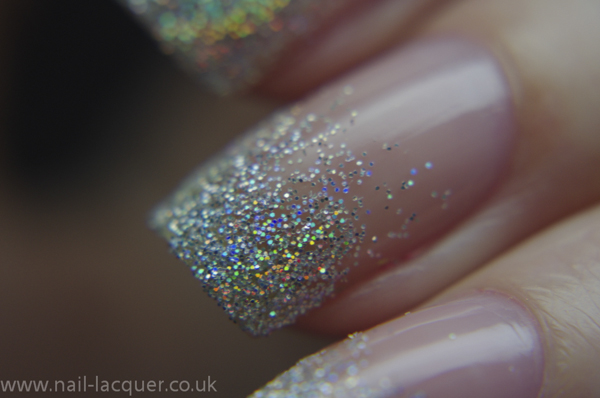
I then moved on to a bit more simple look. I used the Gloss Top Coat on my naked nails and while the polish was still tacky I added the silver holographic powder creating a glitter gradient. I sealed it with one coat of Gloss Top Coat. The finish still felt textured but the glitter powder seemed to be covered well and looked amazingly holographic. Sealing it with top coat might of not been the best decision as some of the glitters got stuck in the brush, so make sure to clean the brush before sticking it back in to the bottle ;)
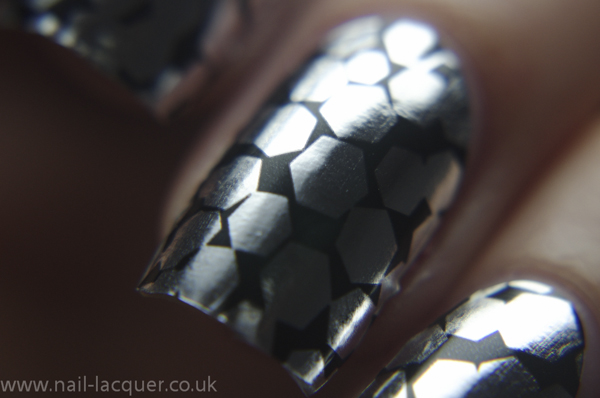
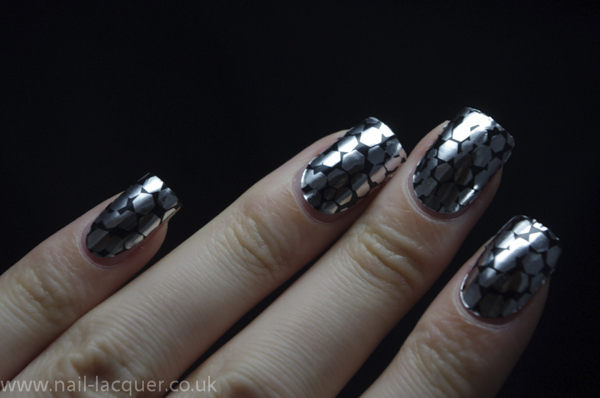
And finally we have the nail stickers. They applied surprisingly well thinking it was my first ever time to use nail stickers. The finish looked cool but I am more of a polish girl and preferred the previous manicures to this one. Buy hey, that’s just me!
Overall I think this kit is full of fun and a great start off for any person who is just getting into nails. It offers a variety of different looks and finishes and fuels one’s creativity well- I felt there’s at least 20 more designs I would like to do but this post is long enough so let’s leave them for some other time :)
Thanks for reading and have a beautiful day!
*PRESS SAMPLE

