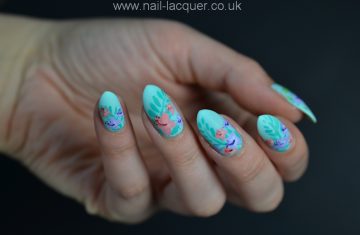

Hey there and happy Sunday! I got a tutorial request for the snowman nail art I did back in December. The snowman is called Olaf and he is from the Frozen film. I have to admit, I still have not seen the film myself but hopefully will before they stop showing it in cinemas :P
I used acrylic paints for most of the design, the only part I didn’t was the nose where I used Color Club Wham! Pow! As of tools I used nail art brushes and dotting tools. I will let the photos explain the rest.

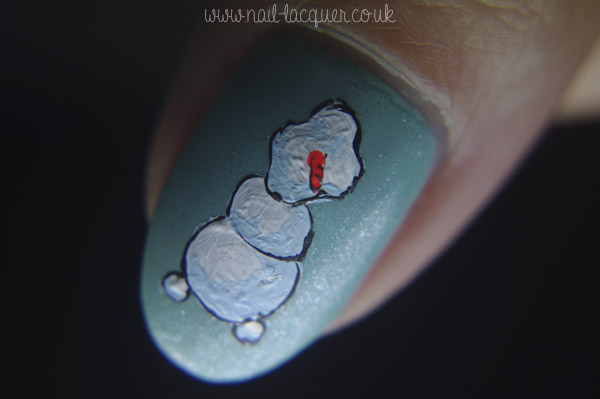
1. Started off with white colour, repeat this step as long as the snowman shape is opaque enough (I needed 2 coats).
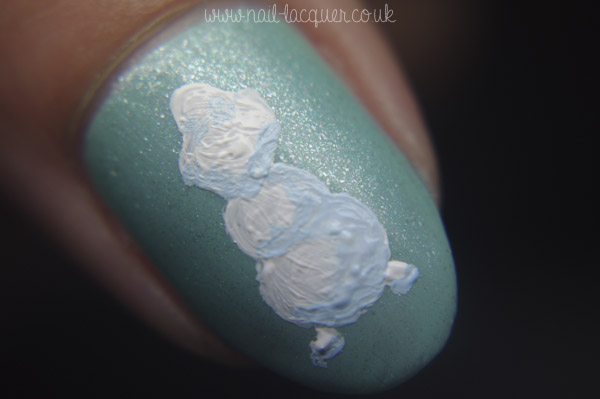
2. I mixed white and blue to a very light shade of blue to paint some shadows.
3. I added the nose using above mentioned Color Club polish.
4. Used a very thin brush to paint the outlines and the nose- a carrot.
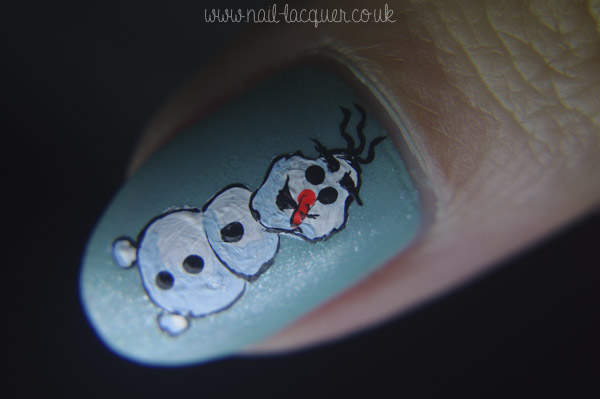
5. Added details such as hair, eyebrows, eyes, mouth and buttons using dotting tool/nail art brush and black acrylic paint.
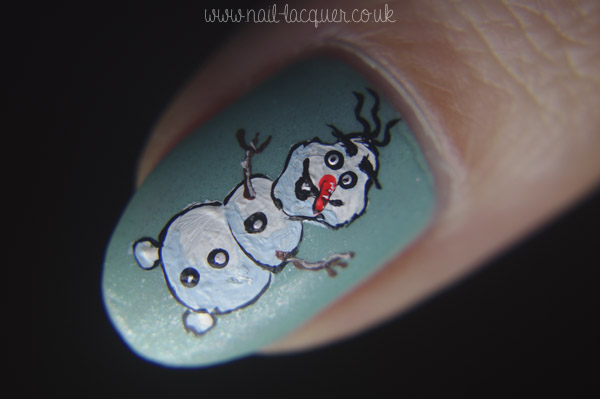
6. Added arms with brown acrylic paint and some more details with white acrylic pint.
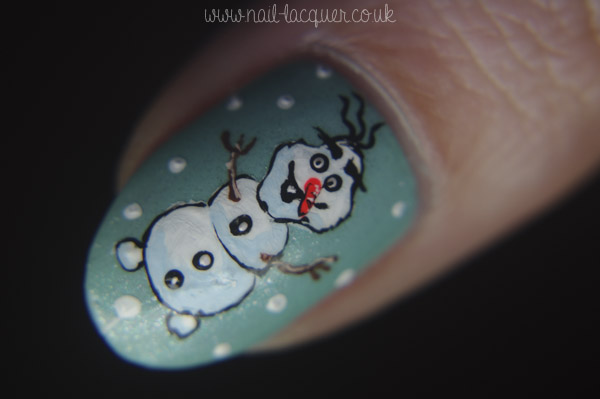
7. Added snow with dotting tool and white acrylic paint. I topped it all up with Poshe top coat.
I hope that this tutorial have been clear enough, if not feel free to leave questions in comments.
Thanks for checking out Olaf the snowman tutorial! xoxox